August 7, 2023
How to Create a Memorial Slideshow

Before you start
If you are not confident using computers, we recommend recruiting a relative or friend to help you. Even if you are confident with putting a video together, you may find it helpful to have someone sit with you as you do this for emotional support. Your funeral director, if you have one, can usually give some assistance in putting a slideshow together if you prefer they take over this task.
First, you will need to decide on the format. If you are using a funeral home ask them if they prefer you to provide a video or individual images. Do you need to bring a USB to the service, or do you need to send the file in beforehand, or store it on the cloud? Do you need to provide music separately, or add it to your slideshow file?
How many photos should you use?
Generally, a memorial slideshow will run the length of one song or two songs, and you can use this as a guide on how many photos to include. You’ll want to ensure you allow the audience enough time to properly look at a photo – around four to five seconds per image is recommended. Remember this is a guide only – there is no hard and fast rule as to how many photos of your loved one you can share, or how long you want the slideshow to run!
For example:
- One song of 3 minutes duration = 36-45 photos maximum
- One song of 4 minutes duration = 48-60 photos maximum
Gathering images for a memorial slideshow
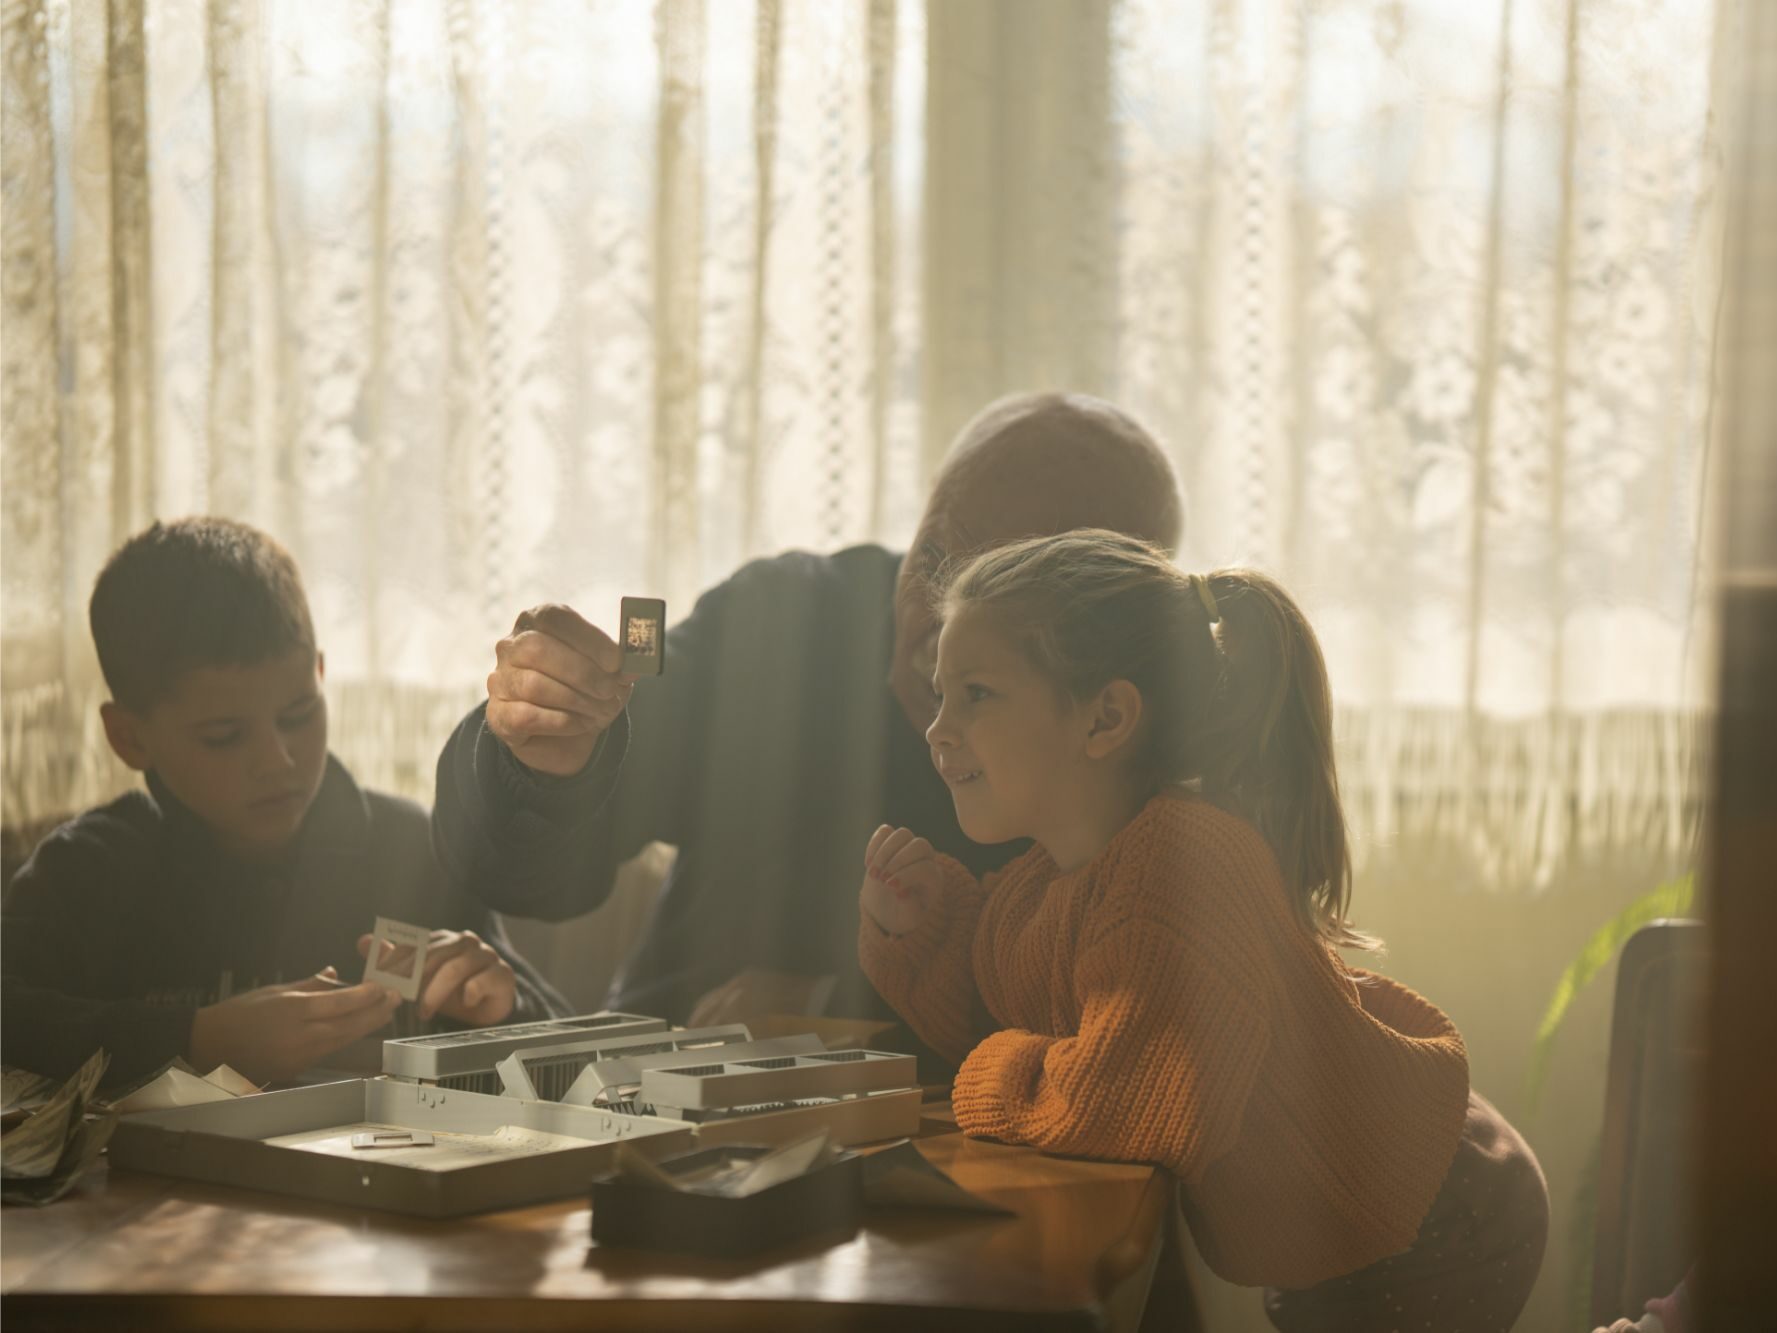
Collating images can be a challenge. Looking through images can be emotionally draining. You may need to scan photographs or gather photos from people living overseas. It can be useful to break this task into smaller, more manageable steps.
- Decide on who you want to have photos of. Listing the family members and friends that you want to include can help ensure you don’t inadvertently miss including someone.
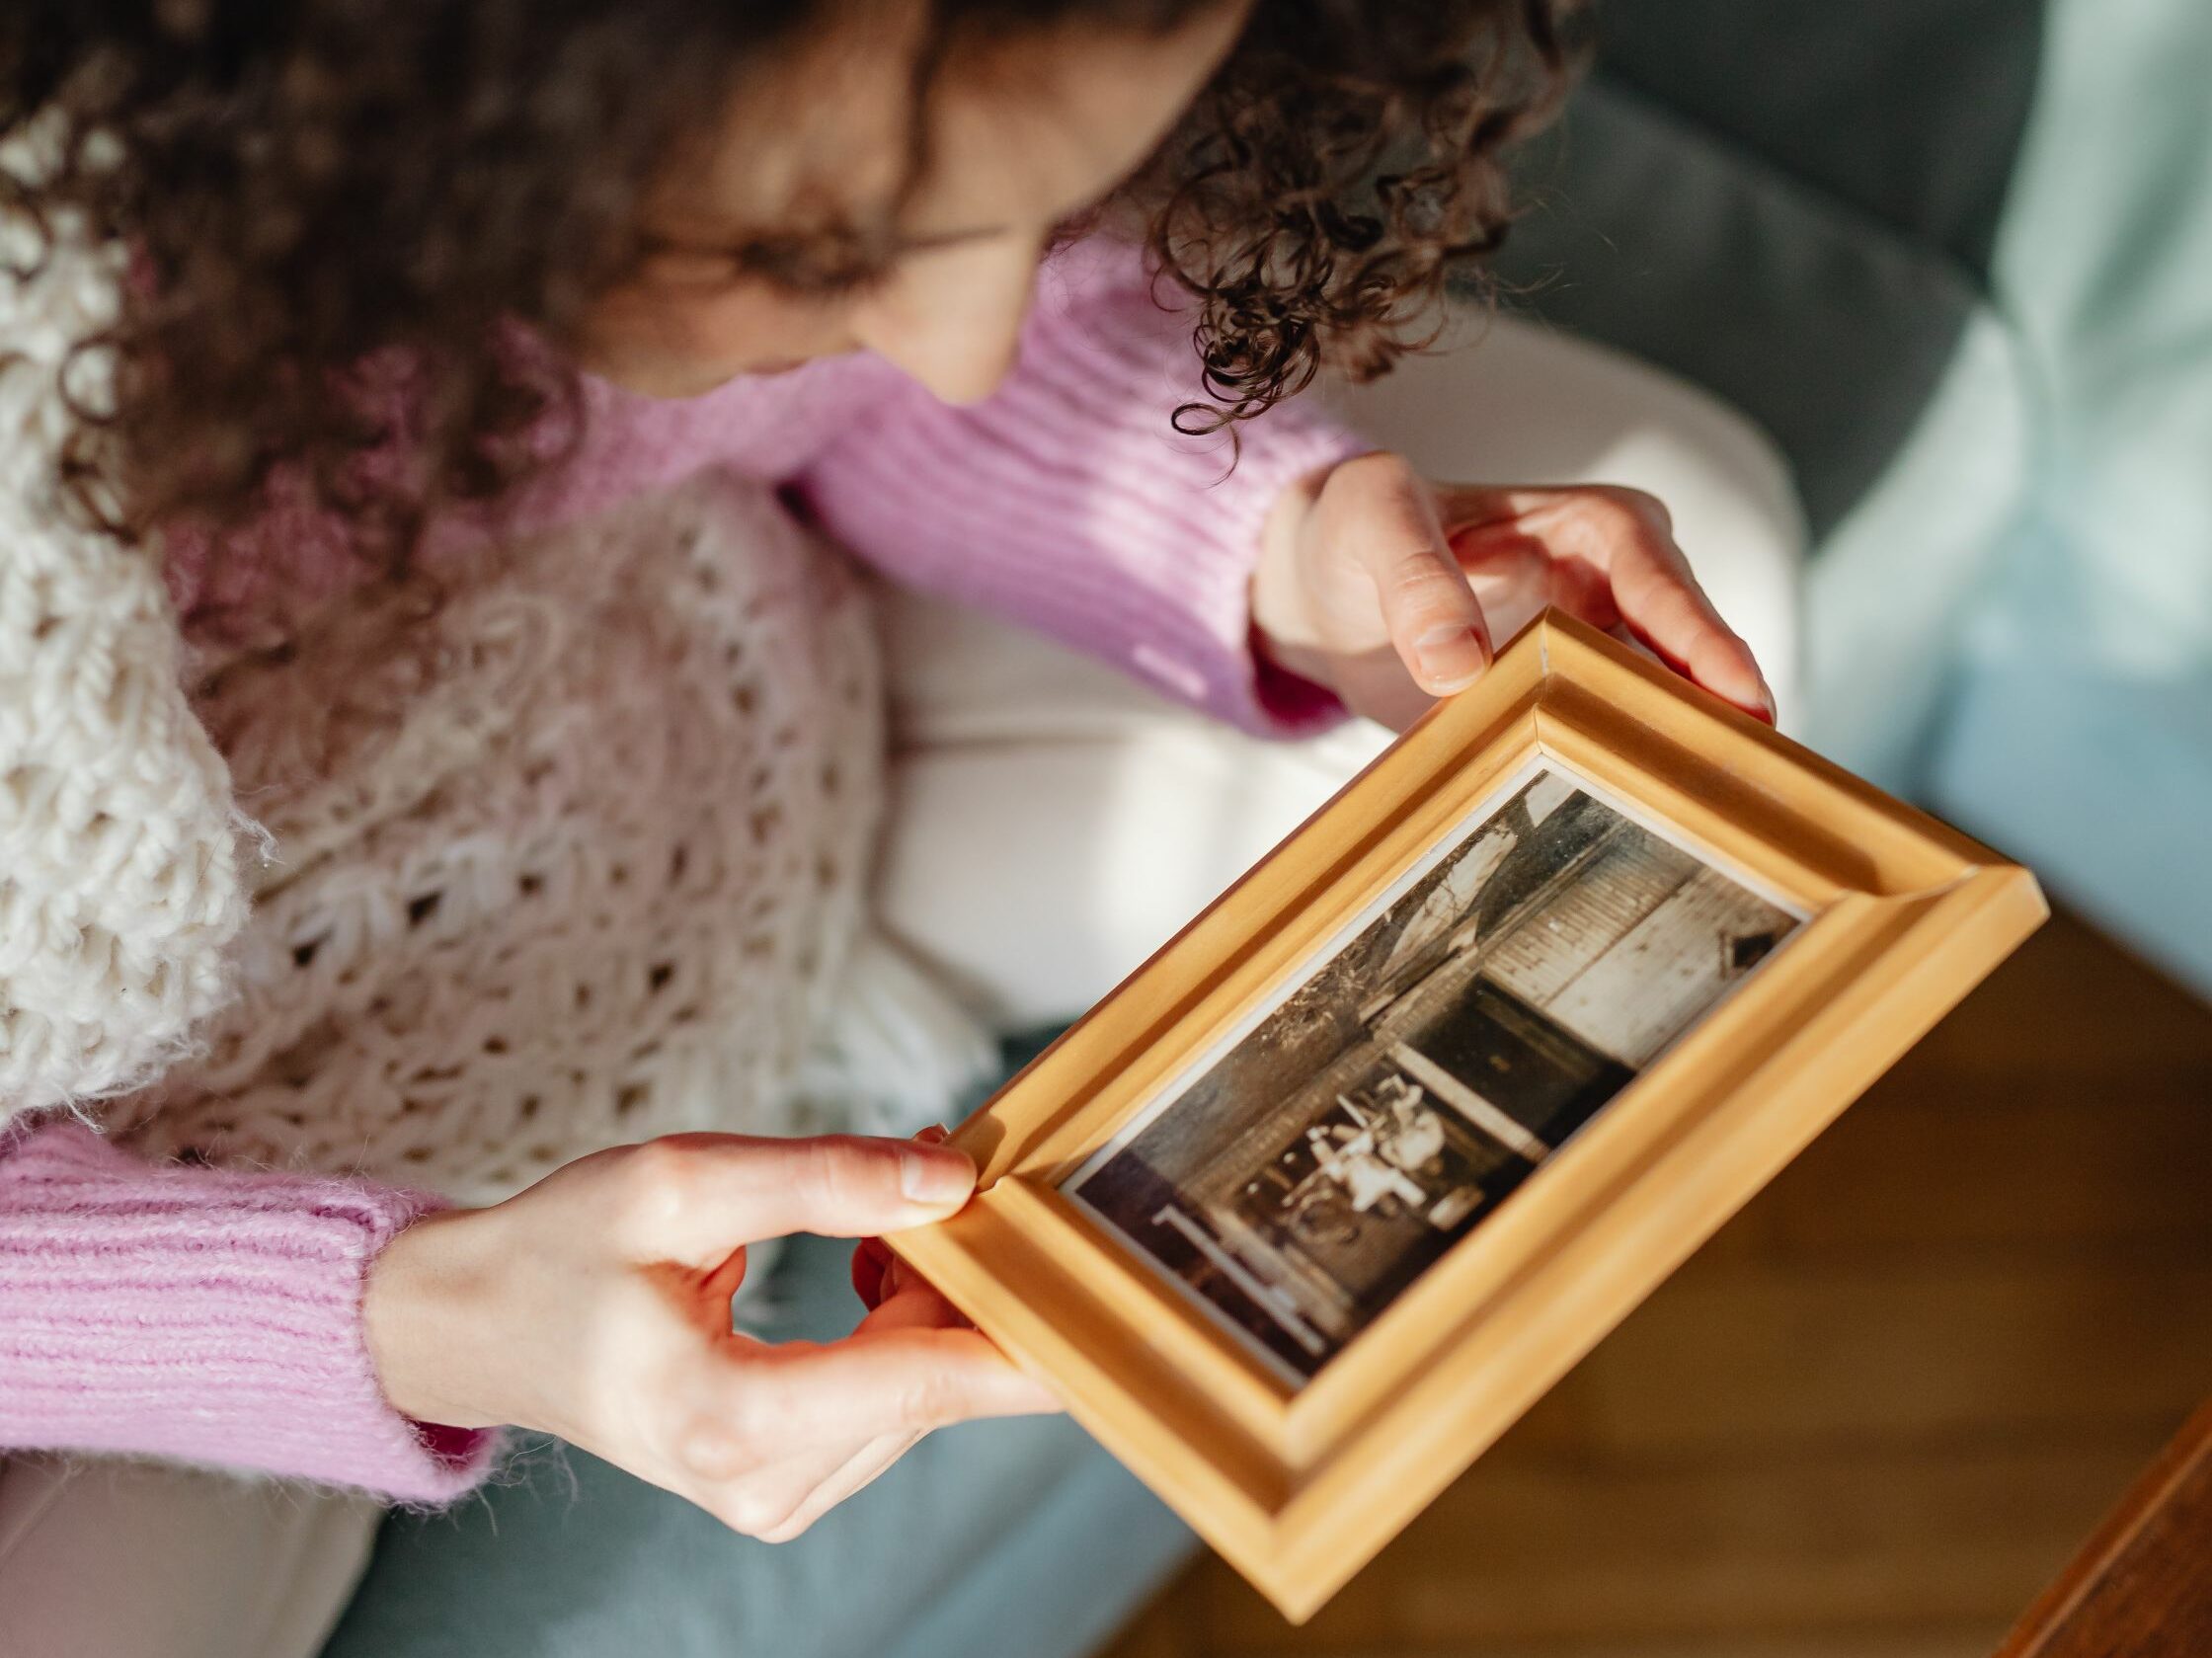
- Including photos from all stages of their life can be a good way to share their whole life with everyone at the service. Brainstorm what key stages or important moments of their life they’d want to be shared. These can include birthdays, first days of school or University, graduation, weddings, holidays, or even events like concerts.
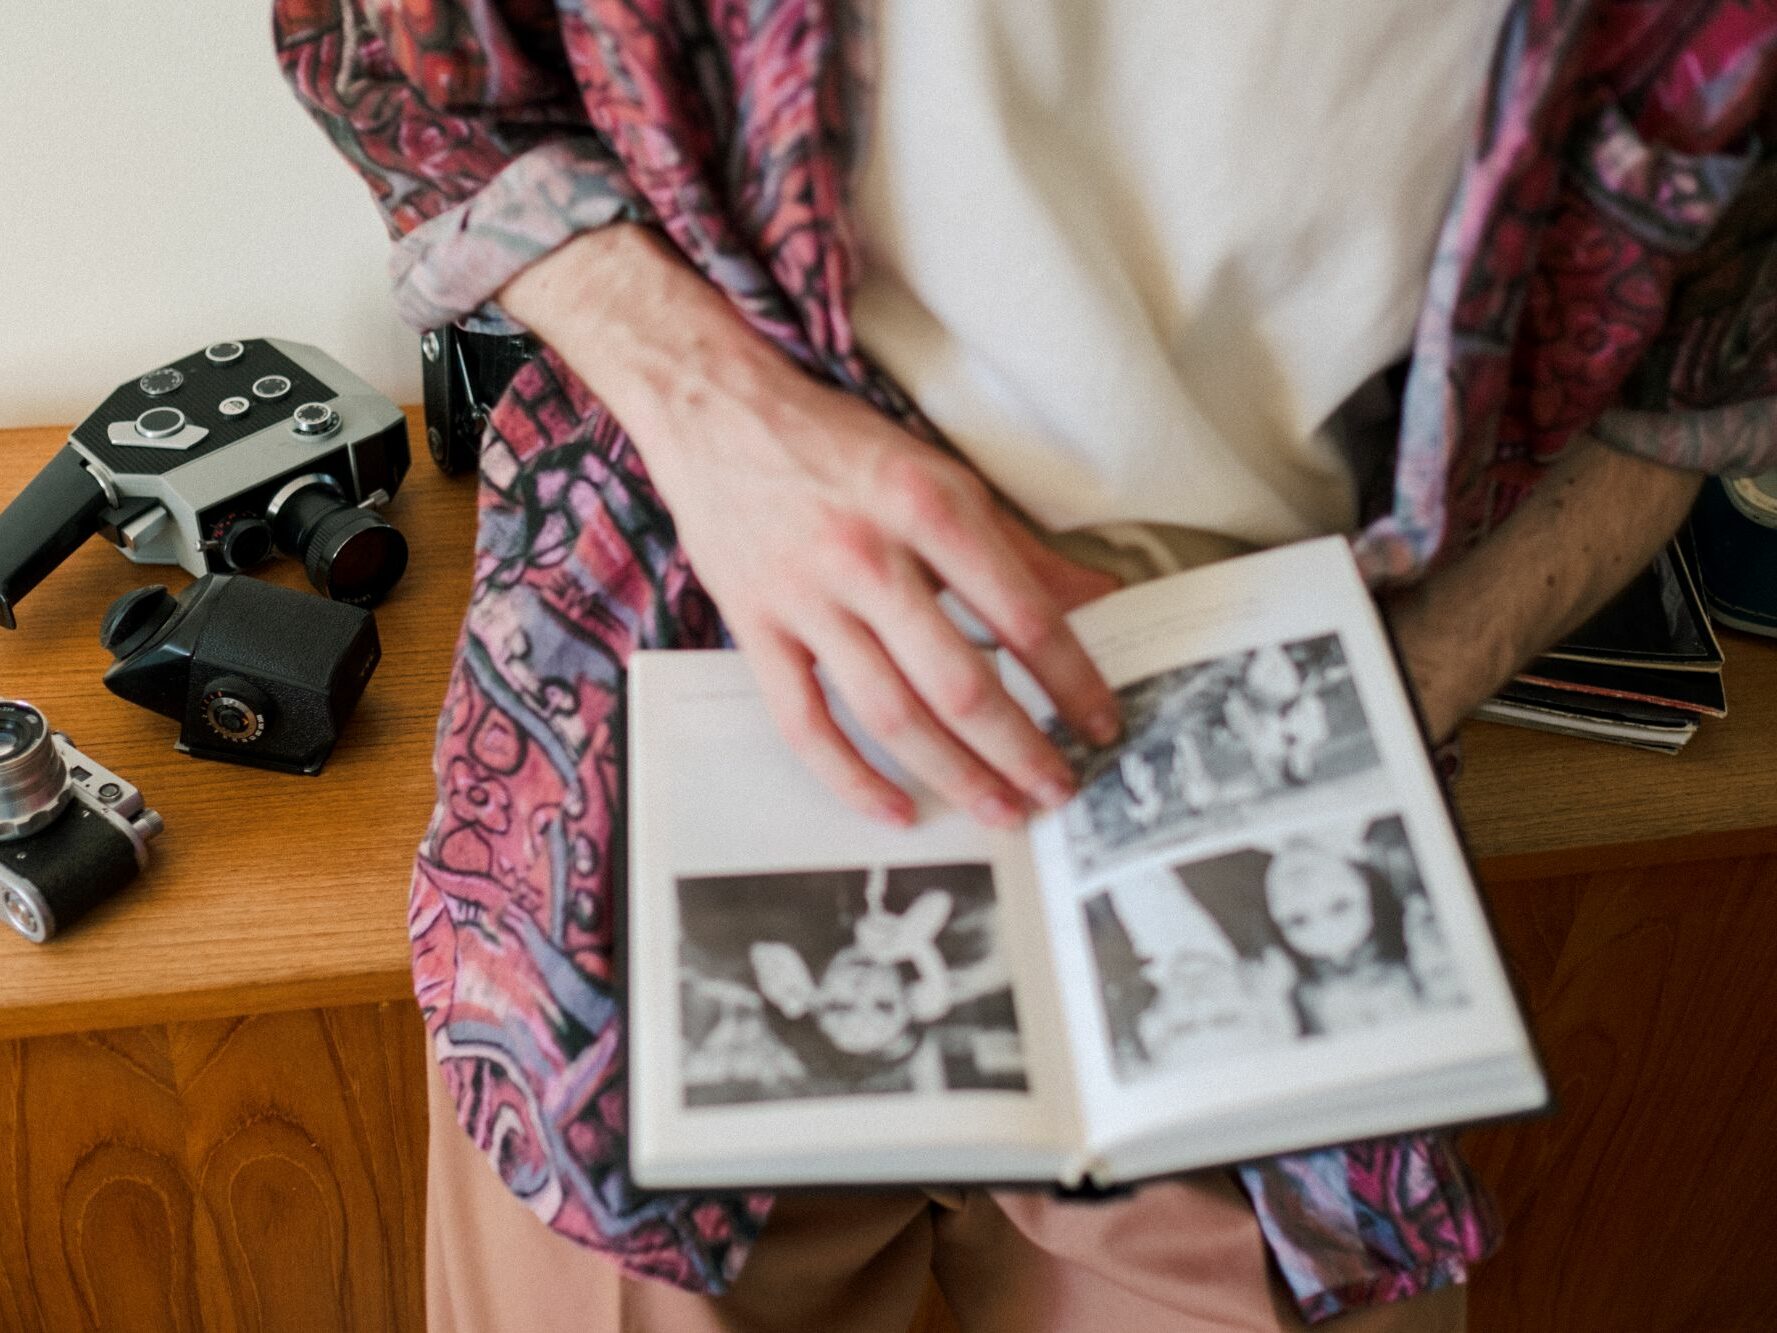
- List all the places and people you need to gather photos from. This could include people’s Facebook pages, a physical family photo album, sports clubs or workplaces.
- Contact the people and groups that you need to gather photos from, and make sure you give them a date that you’d like the photos back. You can ask them for their favourite photo of the deceased, or a favourite photo of them together.
Choosing and adding music
Music plays an important role in many people’s lives and some people identify the music they want to play at their service before they pass. When they haven’t let you know their preference in advance it can be difficult to choose a song that represents them. You can start by exploring artists or genres they like. If they were married, was there a song that was played at their wedding that would be suitable? Don’t be afraid to play something upbeat or humorous if you feel it represents them well.
When it comes to adding the music, you can either add music directly to your slideshow or video, or you can play the music separately. Whichever you choose, make sure you have downloaded or purchased a high-quality version of the song. You may have to purchase the song from iTunes or Amazon.
Getting creative
Adding voice or video content can also be a great way to incorporate some special memories or moments of the deceased. You can include a voicemail recording, a home video, or a recording of them singing – there are endless options.
Other things you might want to add to the slideshow are photos of their achievements such as certificates or degrees, or a photo of something personal like a handwritten letter.
Bringing it all together
Consider if you want to collate the images in chronological order or if you want them mixed up. Once you have your images, and you know how you want to order them, you’ll need to start putting all the photos together.
There are a number of tools you can use. We recommend, where possible, sticking to software that you already know how to use. Here are some instructional videos on how to use different tools:
Final checks on your memorial slideshow
Ask loved ones for feedback. We recommend watching the full slideshow at least once before the funeral to make sure it runs well. You may wish to review it with a friend or relative to get their feedback.
Check your image list as you watch your slideshow to make sure you have included everyone you wanted to.
On the day, always bring a backup copy with you. This can be on a secondary USB, on your phone, or saved to the cloud. It is best not to rely on the cloud for your backup copy on the day unless you know you will have internet access to download it.
Using the slideshow after the funeral
After the service, many people look to creating some kind of memorial as a more permanent tribute to their loved one. The photographs you use in the memorial slideshow can be re-used, or you may want to upload the slideshow to a memorial website. Find more memorial ideas for your loved one.


